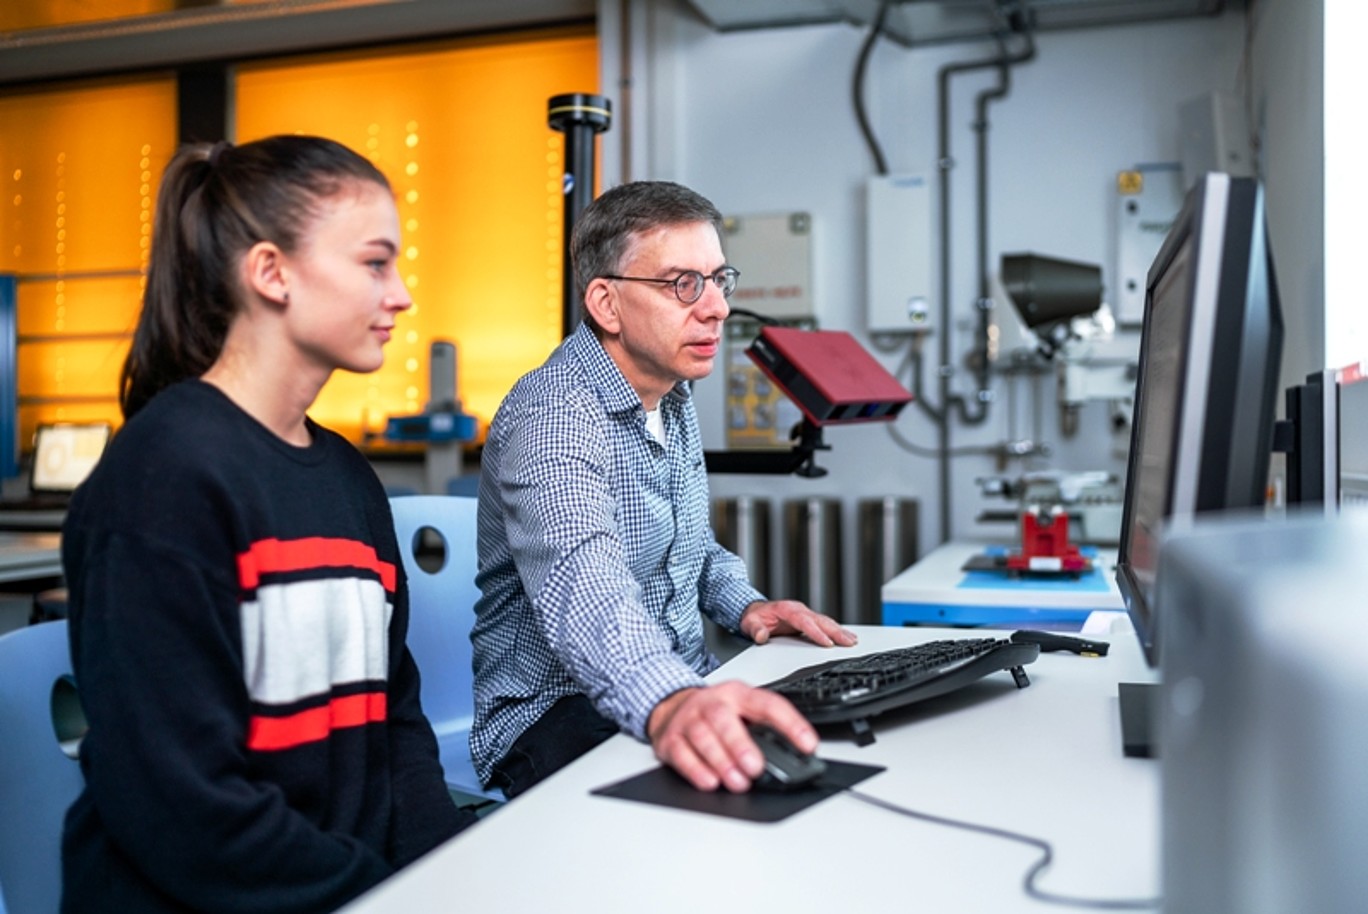
Students already know what dimensional, shape and positional tolerances mean in practice from design theory when they come to our laboratory. We teach them how to measure these in our laboratory. Waviness and roughness are also determined to the micrometer using appropriate measuring devices.
Before 3D printing comes the 3D scan. In the practical course, students learn how an object on the table is transferred to the computer as a true-to-scale model with the help of a 3D scanner.
In the laboratory, students learn how to use manual measuring equipment and modern automated measuring systems. With their help, they get to the bottom of the causes of deviations in the production process and assess the functionality of products.
The laboratory is used by undergraduate mechanical engineering students and prospective industrial engineers to acquire basic knowledge of production metrology.
In the main course of study in mechanical engineering, knowledge of 3D coordinate measuring technology is taught in particular.
No internship can be successful without preparation. The students prepare for each experiment with the help of practical documents, which are provided in advance.
The practical course itself is supervised by the laboratory engineer and the specialist lecturer, who are also available to answer questions. Work is carried out in small groups of approx. 5 students so that everyone can get hands-on experience. The results and findings of the experiment are recorded in a protocol.
- 3D coordinate measuring system (contact measurement)
- 3D scanner (non-contact, optical measurement)
- Form measuring systems
- Contour and surface measuring devices
- Calibration equipment
- Standard measuring and testing equipment
Registration takes place by registering in small internship groups (4 to max. 7 students) via the e-learning platform OPAL.
House Z IVa, rooms 0.05 and 0.07

